Ceramic coating has taken the car care world by storm, and for good reason. This advanced protective layer helps safeguard your vehicle's paint, making it shine like new and reducing maintenance. While many car owners prefer to leave the application to professionals like Empire Auto and DetailTX, with the right tools, preparation, and guidance, you can achieve professional-grade results at home. Follow this easy, user-friendly guide to apply ceramic coating to your car.
What is Ceramic Coating, and Why is it Important?
Ceramic coating is a liquid polymer applied to a vehicle's exterior. It chemically bonds with the factory paint to create a hydrophobic (water-repellent) and durable protective layer. This layer shields your car against dirt, UV rays, minor scratches, and contaminants. It also enhances the paint's gloss, giving your vehicle a show-stopping shine.
Opting for a DIY application can save you money while still achieving similar results to professional services.
Tools and Materials You’ll Need
Before diving in, gather all necessary materials. Preparation is key to a flawless ceramic coating application. Here’s what you’ll need:
Ceramic Coating Kit (including applicator pads and gloves)
High-quality car shampoo
Microfiber towels
Detailing clay bar
Clay lubricant
Isopropyl alcohol (IPA) or surface prep spray
Two buckets with grit guards
Foam or microfiber applicator pads
Polishing compounds and a dual-action polisher (optional, but recommended for best results)
LED or bright light source (to inspect the paint surface)
Step-by-Step Application Process
Step 1: Wash the Car Thoroughly
Start by cleaning your vehicle to remove dirt, grime, and previous waxes or sealants. Use a two-bucket wash method to minimize swirl marks:
Bucket One: Soapy water with a high-quality car shampoo.
Bucket Two: Clean water for rinsing your wash mitt.
Rinse the car thoroughly after washing and dry it using a clean microfiber towel.
Step 2: Decontaminate the Surface
To ensure the coating bonds properly, decontaminate your car’s paint.
Clay Bar Treatment: Use a detailing clay bar with a lubricant to remove embedded contaminants such as tar, sap, and iron particles. Work section by section.
Wipe off excess lubricant with a microfiber towel.
Step 3: Inspect and Polish the Paint
Inspect the surface for swirl marks, scratches, or oxidation using an LED light. Polishing isn’t mandatory, but it’s highly recommended if you’re aiming for a flawless finish.
Use a dual-action polisher with appropriate pads and polish to remove imperfections.
Wipe down the polished area with isopropyl alcohol (IPA) or a surface prep spray to eliminate residue.
Step 4: Apply the Ceramic Coating
Now it’s time for the main event: applying the ceramic coating. Follow these steps carefully:
Prepare Your Work Area: Choose a shaded, well-ventilated space with no wind or direct sunlight.
Wear Gloves: Ceramic coating contains chemicals that can irritate your skin.
Apply to an Applicator: Put a few drops of the ceramic coating onto the applicator pad. A little goes a long way.
Work in Small Sections: Divide the car into sections (e.g., fenders, hood, doors) and apply the coating in straight, overlapping lines.
Allow It to Flash: After application, you’ll notice a rainbow or oily sheen (“flashing”). This indicates the coating is bonding.
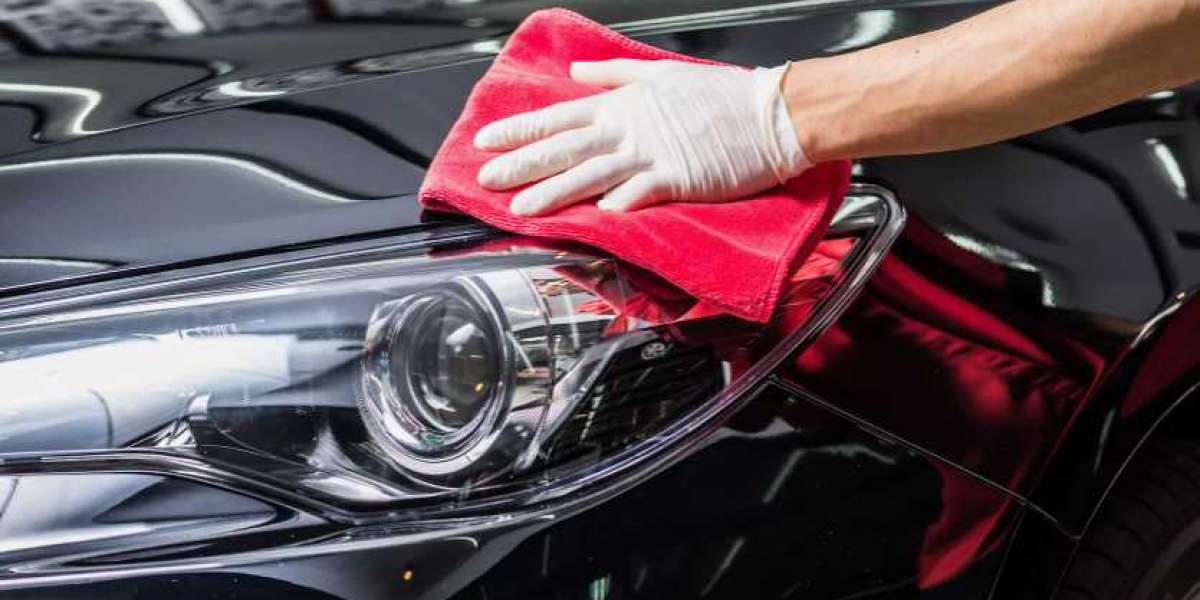
Buff with a Microfiber Towel: Using a clean microfiber towel, buff off excess product. Work gently but thoroughly to avoid streaks.
Step 5: Cure the Coating
Curing is crucial for the ceramic coating to achieve its full potential.
Avoid water contact for at least 24-48 hours.
If possible, keep your car parked indoors or under a car cover.
Allow the coating to fully cure for up to 7 days before washing the car.
Maintenance Tips for Ceramic Coating
A ceramic coating doesn’t make your car maintenance-free but significantly reduces upkeep. Follow these tips to prolong the life of the coating:
Wash the Car Regularly: Use a pH-neutral car shampoo and the two-bucket method.
Avoid Automatic Car Washes: They can damage the coating.
Use a Ceramic Booster: Periodic use of a ceramic spray can enhance the coating’s performance.
Inspect the Surface: Occasionally check for contamination or areas where the coating may have worn off.
Why Choose Empire Auto and DetailTX for Ceramic Coating?
While DIY ceramic coating is rewarding, the process demands time, precision, and patience. If you prefer a professional touch, Empire Auto and DetailTX offer expert ceramic coating services. Their trained technicians ensure flawless application, saving you effort while delivering unmatched protection and shine. With Empire Auto and DetailTX, your vehicle is in trusted hands.
FAQs About DIY Ceramic Coating
1. Can I apply a ceramic coating over existing wax or sealant?
No, you must remove any existing wax or sealant before applying the ceramic coating. They prevent the coating from bonding with the paint, reducing effectiveness. Use isopropyl alcohol (IPA) or a surface prep spray for thorough cleaning.
2. How long does a DIY ceramic coating last?
The durability depends on the product used and maintenance. High-quality DIY coatings can last between 1-2 years, provided you follow proper care guidelines.
3. What should I do if I make a mistake during my application?
If streaks or high spots occur, reapply a small amount of coating to the area and buff it out immediately. For cured coatings, polishing with a machine may be necessary.