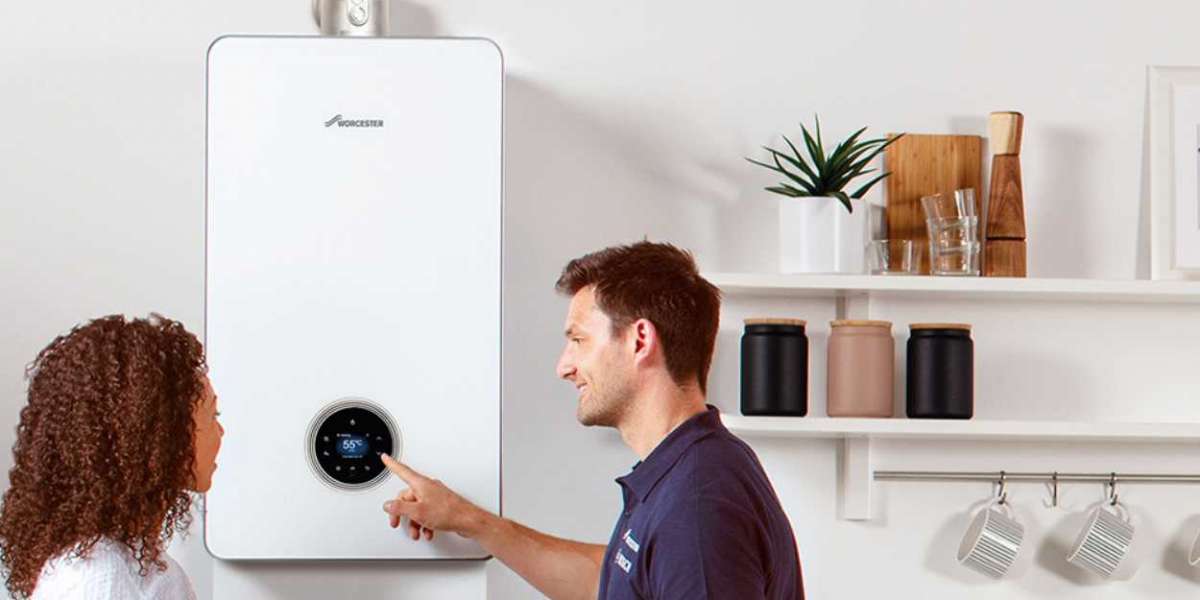
Installing a boiler in your home or business is a crucial step in ensuring comfort, warmth, and hot water availability. Whether you’re upgrading an old system, replacing a broken one, or setting up a new heating system, the boiler installation process must be carried out with precision and care. A proper installation will not only enhance your home’s energy efficiency but also improve safety and reduce long-term maintenance costs.
In this Boiler Installation Guide, we will cover everything you need to know about the installation process, from choosing the right boiler to understanding the installation steps.
1. Choosing the Right Boiler for Your Home
Before embarking on a boiler installation, the first step is to choose the right type and size of boiler for your property. There are various types of boilers available, including combi, system, and regular (conventional) boilers.
- Combi Boilers: These are ideal for smaller homes or flats with limited space. They provide both heating and hot water on demand without the need for a water tank, making them compact and energy-efficient.
- System Boilers: These are perfect for homes with multiple bathrooms and high hot water demand. They require a hot water storage cylinder but do not need a cold water tank.
- Regular Boilers: These are typically used in larger homes with several bathrooms. They work with both a water tank and a cylinder, making them suitable for homes that need a high volume of hot water.
When choosing a boiler, consider your household’s size, heating needs, and hot water demand. Consulting a heating engineer or installer is always a good idea to determine the most efficient and suitable option.
2. Preparing for the Boiler Installation
Before your chosen boiler can be installed, certain preparations are required to ensure a smooth installation process:
- Location: The new boiler must be installed in a suitable location. The installer will assess the space and may recommend areas such as the kitchen, airing cupboard, or a utility room. The area should be well-ventilated and easy to access for maintenance.
- Gas Supply: If you're installing a gas-powered boiler, make sure the gas supply is up to code and sufficient for the new unit’s requirements.
- Radiators and Pipes: Check that your radiators and piping system are compatible with the new boiler. Some upgrades may be necessary if you’re replacing an old boiler with a new one.
3. Boiler Installation Process
Once the preparations are complete, the actual boiler installation can begin. The process typically follows these steps:
Step 1: Removal of the Old Boiler (if applicable)
If you’re replacing an old boiler, the first step is to remove the existing unit. This should only be done by a qualified professional, as it involves disconnecting gas, electricity, and plumbing connections.
Step 2: Positioning the New Boiler
The installer will place the new boiler in its designated spot, ensuring it meets all manufacturer requirements. If any adjustments to pipework or wiring are needed, the installer will make them at this stage.
Step 3: Connecting the Boiler
The installer will connect the boiler to the existing gas and water pipes, ensuring all connections are secure. The electrical connections will also be made to ensure the system can be powered up safely.
Step 4: Testing the System
Once the boiler is connected, it’s time for testing. The installer will check the gas pressure, flow rate, and heating functions to ensure everything is working as expected. If any issues arise, they will be addressed before proceeding.
Step 5: System Commissioning and Handover
Once the boiler is tested and confirmed to be working efficiently, the final steps involve commissioning the system. The installer will provide you with the necessary documentation, including safety certificates and warranty information, and explain how to use the boiler correctly.
4. Post-Installation Care and Maintenance
After your new boiler is installed, regular maintenance is essential to keep it running efficiently. Schedule an annual service with a qualified engineer to ensure the system is in top condition and to avoid potential breakdowns.
Conclusion
Proper Boiler Installation is essential to ensure the safety, performance, and efficiency of your heating system. Always work with a licensed professional to ensure your installation meets safety standards and building codes. Whether you’re replacing an old boiler or installing a new one, choosing the right type, ensuring proper installation, and committing to regular maintenance will give you a reliable and long-lasting heating solution.
Frequently Asked Questions (FAQs)
How long does a boiler installation take?
The duration of the installation depends on the type of boiler and the complexity of the system. Generally, a straightforward installation may take 1-2 days, while more complex systems may require up to 3 days.
Can I install a boiler myself?
Boiler installation should always be done by a licensed professional to ensure it meets safety and legal requirements. Installing a boiler yourself can be dangerous and may void the manufacturer’s warranty.
How much does a boiler installation cost?
The cost of a boiler installation varies depending on the type of boiler, the complexity of the installation, and the location of your property. On average, the cost can range from £1,500 to £3,000 or more.
How do I know if I need a new boiler?
Signs that you need a new boiler include frequent breakdowns, rising energy bills, no hot water, or the system being over 10-15 years old. If your boiler is no longer reliable or efficient, it may be time for an upgrade.
What warranty do I get with a new boiler?
Most new boilers come with a warranty of 5-10 years, depending on the manufacturer. Make sure to ask your installer about the warranty coverage and register your boiler with the manufacturer to ensure your warranty is valid.


