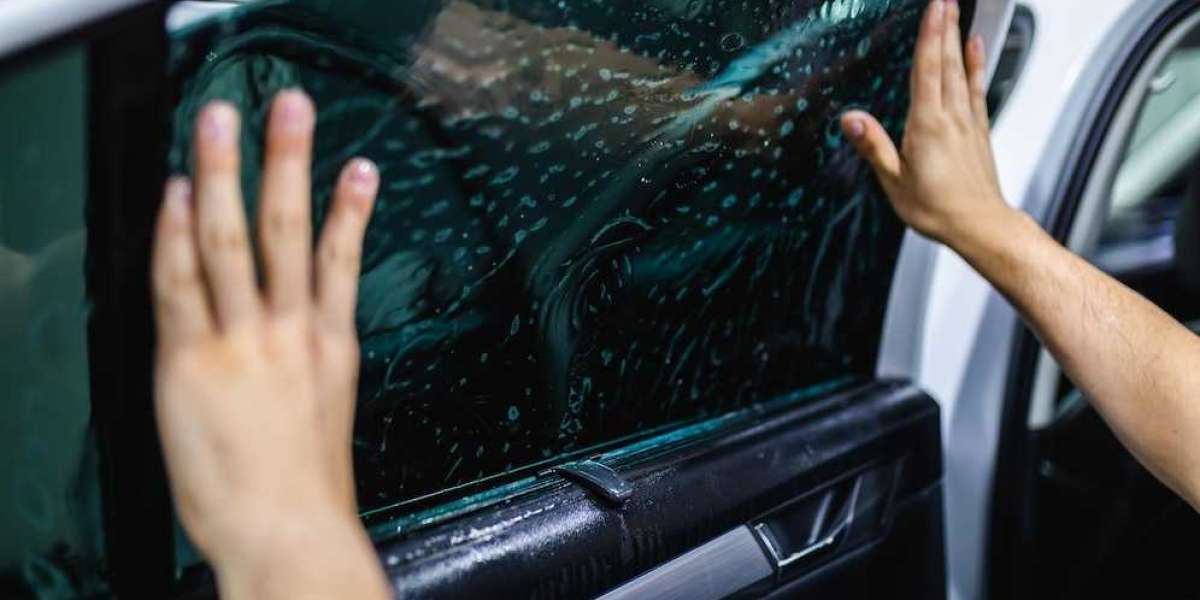
Ripples in your car’s window tint can ruin the clean, sleek appearance you're aiming for. Worse, they can distort your view while driving, which becomes a safety concern. But here’s the good news: you don’t need to be a professional installer to fix them.
This guide will walk you through how to fix ripples in window tint step-by-step, using simple tools and methods you can use right at home. Whether it’s caused by air, poor installation, or a tint that’s just settling unevenly—this article covers everything you need to know.
What Causes Ripples in Window Tint?
Before fixing anything, it’s good to know what caused the problem in the first place. Window tint ripples often show up when:
The glass wasn’t cleaned properly before tinting
The tint was applied in humid or dusty conditions
Moisture or air got trapped underneath the film
The windows were rolled down before the tint fully dried
The tint used was low-quality or too thin
In some cases, ripples might disappear within a few days as the film cures. But if they’ve been around for more than a week, or you see new ones forming, it’s time to take action.
How to Fix Ripples in Window Tint Step-by-Step
Now, let’s break down the exact process to get rid of those ripples for good. These instructions are easy enough for anyone to follow and require only basic tools.
Tools You’ll Need:
Hairdryer or heat gun (on low setting)
Plastic card (credit card or gift card)
Soft microfiber cloth
Spray bottle filled with water + a drop of dish soap
Small safety pin (only for stubborn air pockets)
Step 1: Clean the Area
Use a microfiber cloth to wipe the tinted window. Make sure there's no dust, dirt, or grease. Working on a clean surface will make everything easier and prevent new damage during the fix.
Step 2: Warm Up the Ripple Area
Turn on your hairdryer or heat gun and set it to low. Hold it about 6 to 8 inches from the glass and move it in a sweeping motion across the ripple. Do this for 20–30 seconds to soften the film and loosen the adhesive underneath.
Step 3: Push Out the Ripple
Wrap the plastic card in your microfiber cloth. Use it to gently press on the ripple, starting from the center and pushing toward the outer edge. This helps remove trapped air or realign the film.
If the ripple is actually a bubble or blister, it may require a different approach. For that, check out our in-depth guide on How To Repair Window Tint Bubbles.
Step 4: Let It Rest
After you’ve smoothed out the ripple, let the window cool. Avoid rolling the window down for at least 24 hours to help the tint reset and re-stick in its new position.
When DIY Tint Repair Might Not Work
Fixing ripples at home works well in many situations—but not all. Sometimes, the tint is simply too damaged or too old to save.
Consider replacing the tint if:
The film is bubbling or peeling in multiple spots
The ripples keep coming back after repairs
The tint has turned purple, faded, or cracked
The film has deep creases that don’t smooth out
Trying to fix a badly damaged tint might make it look worse. In these cases, it’s better to go for a full removal and replacement.
And if you need help deciding whether to repair or replace your tint, the experts at Texas Reliable Auto Glass can guide you. We offer affordable and professional window tint services across Texas to make your vehicle look brand new again.
How to Prevent Tint Ripples in the Future
Once you’ve fixed your tint, keeping it looking great takes just a little care. Follow these tips to prevent ripples from showing up again:
Wait at least 3 days before rolling windows down after a new tint job
Avoid cleaning the inside of windows for the first week
Use soft, ammonia-free cleaners to prevent damage to the film
Park in shaded areas while the tint is curing
Make sure the installer uses high-quality film if you ever get a new tint
Taking these steps seriously will not only prevent ripples but will also help your tint last longer and look better.
FAQs
Will all ripples go away on their own?
Not always. Some mild ripples disappear after curing, but persistent or growing ripples usually need manual fixing.
Can you fix ripples in rear window tint?
Yes, but be careful. Defroster lines can be damaged during the process, so work slowly and don’t apply too much pressure.
How long should tint cure before attempting repairs?
Wait at least a full week after installation before trying to fix ripples. The tint needs time to fully adhere to the glass.
Final Words
Fixing ripples in window tint step-by-step isn’t as hard as it seems. With a little heat and a careful touch, you can smooth out the film at home and bring back that clean, flawless look. But if the damage is too severe or you want a professional finish, help is just a call away.
Contact us at Texas Reliable Auto Glass for expert tint repair and replacement services you can trust. We’re here to keep your windows looking their best across Texas.