It is tricky to make a perfect circle in knitting, especially for beginners. And the technique is quite different from a regular circular pattern. This is a skill that every knitter must possess to create an interesting pattern. Once you know how to make it, you can create multiple projects with knitting needles, such as coasters, dollies, or bases for bigger ones. In this guide, let's explore techniques and types of circles that you can use to make unique creations.
Techniques For Knitting a Circle
Knitting a circle requires a small number of cast-on stitches at the start and at the center, followed by systematic increases. When working on a common circular knitting project with your destiny circular needles, you will increase four stitches per row, or eight every second round to keep the circle flat. It is important to follow strategic planning, allowing variations like octagons, hexagons, or decagons in circular shapes.
Explore Different Types of Circles
There are three basic ways to form a circle for your projects. Let's explore some of them:
- Spiral Shaping
This shape you often find in baby blankets, the backs of baby bonnets, some afghans, or delicate dollies. In this, you increase the stitches evenly around, which creates the continuous spiral effect. The spiral shape can curve to the left or right, depending on where the increases are made. Learn how to knit a chunky wool blanket this winter with our blog.
How to Make a Spiral Shape
Follow these simple steps to make this unique shape:
Step 1: Cast-on Stitches
- Start with casting on stitches using any method or a long tail cast-on. For example, eight stitches, and join them to form a circle.
Step 2: Increase Rounds
- R 1: Knit all the stitches.
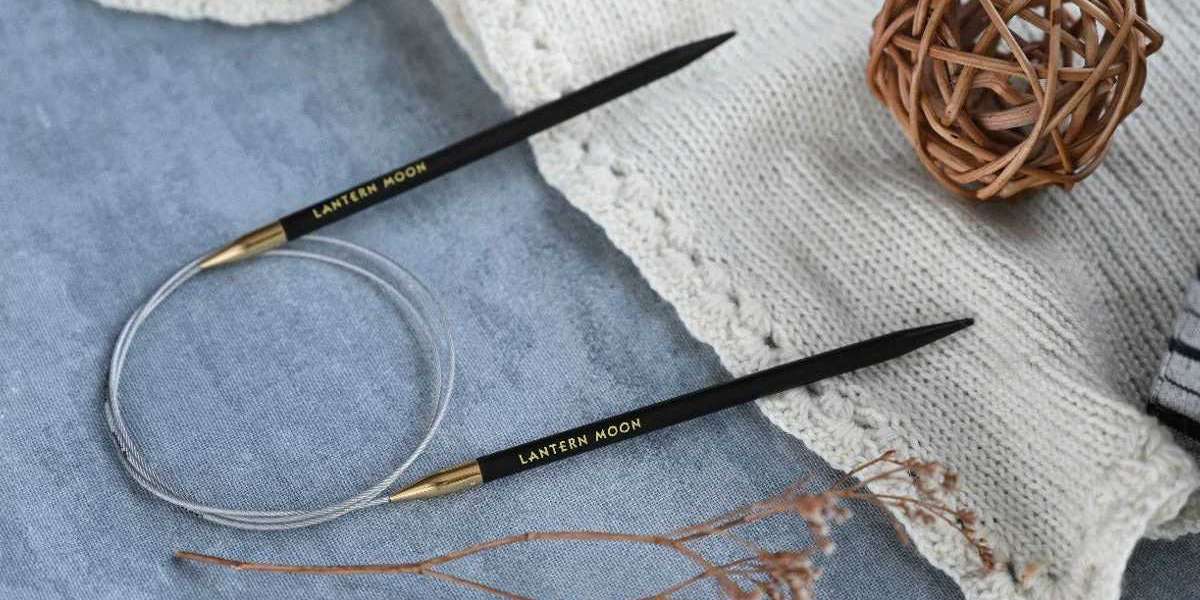
- R 2: Divide the stitches evenly and double them, let's say, from 8 to 16. Use knitting accessories such as stitch markers from Lantern Moon to track count.
- Subsequent Rounds: Make sure to increase at the beginning of each section. Choose any increase method for your convenience and give a perfect shape.
- Until you reach the desired shape, continue increasing the size.
- In the end, block it to ensure the outer edges stay smooth and ruffled.
- Spoke Circle
Have you seen a spiderweb? The spoke circle resembles the same look. You can make a radial design, featuring elements radiating outward from the central point like a flower petal, or spokes on a wheel. In this, increases are made at each of the eight spokes, every few rows, creating radiating lines. Moreover, you can easily pair it with variegated yarns. The method is suitable for the base of bags, Halloween decorations, or other items where you want a circular or tabular shape. Refer to our guide and learn how to knit a hat on circular needles.
How to Make a Spoke Circle
Grab your double-pointed knitting needles or any other and follow these simple steps:
Step 1: Cast-on stitches
- Choose any cast-on method as mentioned above and cast eight stitches on the needle.
Step 2: Increase in Spokes
- Make two increases at each spoke, making a total of 16, every four rounds.
Step 3: Continue the Pattern
- By following the pattern, these knitting increases create a spoke effect, giving proper structure and form.
- Pi-Shaped Circle
This type of circle is based on the mathematical principle of Pi, wherein the number of stitches doubles (circumferences) every time the number of rows (diameter) does. This knitting is perfect for making doilies, placemats, or shawls. Moreover, the circle expands quickly in the beginning, it is slightly complex but offers a classical shape, and is ideal for beginners, once they gain confidence in making it.
How to Make a Pi-shaped circle
Let's follow the steps below:
Step 1: Cast-on Stitches
- Start with eight cast-on stitches with your wooden knitting needles from Lantern Moon for a comfortable grip.
Step 2: Increase in the Round
- R 1: Knit the first plain round of a Pi-shaped circle.
- Double the stitch count (16) on the next round and knit 2 plain rounds.
- Double again to 32 stitches, and knit plain 4 rounds.
- Then, double to 64 stitches and knit plain 8 rounds.
- Follow the same pattern until you reach the desired size of the circle.
Tips or Key Points to Consider
Let's discuss some points before you start knitting a circle:
- Use stitch markers to place them on each increase point for tracking growth.
- Make sure you continue practicing it so that you can make it easily.
- Any cast-on method will work with it, but make sure the stitches are evenly distributed, whether you use circular knitting needles or DPNs.
- It is important to block the fabric to prevent unraveling when weaving.
Use high-quality knitting tools to make your round project outstanding. You can opt for handcrafted needles from Lantern Moon that offer a comfortable grip and smooth movement. Having a knowledge of knitting in a circle opens up versatile opportunities for every knitter. Make a circle by following the above style to create a perfect project for you.
Source:https://medium.com/@lanternmoonhandcrafted/how-to-knit-a-circle-0a9a63f0825b