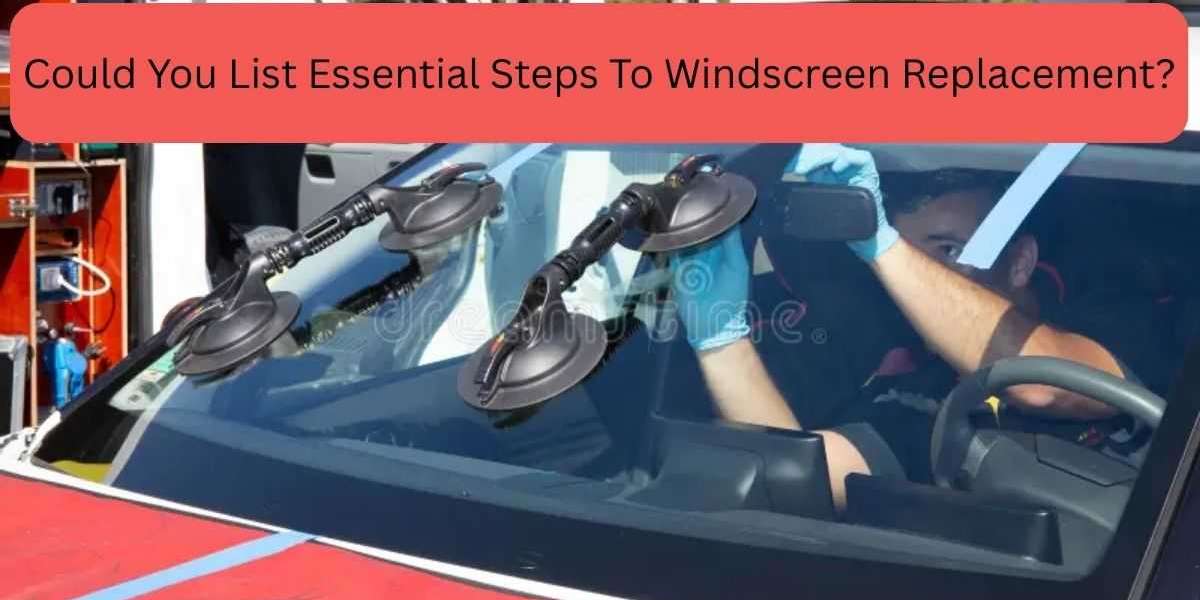
ents. Whether due to a collision, impact from a stone, or general wear and tear, damage to the windscreen must be addressed promptly. Windscreen replacement is not just about swapping out glass—it involves a series of precise, safety-focused steps. If you’re asking, “Could you list essential steps to windscreen replacement?”—this guide is the answer.
Below, we provide a comprehensive breakdown of everything involved in replacing a vehicle's windscreen, ensuring that it’s done safely, correctly, and to professional standards.
Understanding the Importance of Windscreen Replacement
A cracked or damaged windscreen compromises both visibility and safety. In many countries, driving with a damaged windscreen is not only dangerous but also illegal. Minor chips can sometimes be repaired, but significant cracks, especially those in the driver’s line of sight or extending to the edges, usually require a full replacement.
Windscreen replacement is a task best handled by qualified professionals. However, understanding the process helps car owners make informed decisions and appreciate the level of care and precision involved.
Assessing the Damage Before Replacement
Before any replacement begins, it is essential to determine whether a repair is possible or a full replacement is necessary. Factors considered include:
- Size and location of the damage
- Depth of the crack or chip
- Number of damaged areas
- Driver’s visibility impairment
Auto glass technicians are trained to evaluate these aspects and recommend the best course of action. If the damage is extensive, they will proceed with a windscreen replacement.
NOTE: Customers had their Windscreen Replacement Abudhabi completed by Windmaster Autocare LLC with professionalism and care. Quality materials and perfect fitment were guaranteed.
Preparing the Vehicle for Windscreen Removal
One of the first essential steps to windscreen replacement is preparing the vehicle. This involves:
- Clearing the dashboard and removing any mounted accessories (such as GPS devices or dash cams).
- Covering the car interior to protect it from glass shards, dust, and adhesive residue.
- Disconnecting the battery if the vehicle has electronic sensors embedded in the windscreen.
Preparation ensures safety during removal and prevents damage to other vehicle components.
Removing the Damaged Windscreen
The next step is the careful removal of the old, damaged windscreen. This involves:
- Cutting away the old urethane adhesive that holds the windscreen in place. Specialized tools like cold knives or wire removal systems are used for this purpose.
- Lifting the windscreen from the frame using suction cups or lifting tools. This process must be done slowly to avoid damaging the vehicle’s paint or frame.
- Cleaning the pinch weld (the metal frame around the windscreen) thoroughly to remove old adhesive and contaminants.
Removing the old windscreen with precision is critical, as improper removal can result in scratches or corrosion on the metal frame.
Preparing the New Windscreen
Before installation, the new windscreen must be checked and prepared:
- Inspecting the replacement glass for any defects or manufacturing flaws.
- Cleaning the surface to remove dust, oil, or debris.
- Priming the glass edges and pinch weld area, which helps improve adhesive bonding and prevents future leaks or detachment.
If the windscreen includes built-in sensors, cameras, or heating elements, technicians must verify compatibility and prepare the wiring or calibration systems accordingly.
Applying Urethane Adhesive
- Using a caulking gun, the technician applies a continuous bead of urethane around the edge of the windscreen or on the vehicle’s pinch weld.
- The thickness and pattern of the bead are carefully controlled to ensure proper bonding and waterproof sealing.
- Some urethane adhesives require a specific working time, so the glass must be installed before the adhesive begins to set.
This step is one of the most essential steps to windscreen replacement as it determines the strength of the bond and ensures the structural integrity of the vehicle.
Installing the New Windscreen
After applying the adhesive, the new windscreen is carefully placed onto the vehicle:
- Positioning is precise, often aided by alignment tools or guides to ensure the glass fits snugly within the frame.
- Even pressure is applied around the perimeter to bond the glass securely.
- Tapes or temporary brackets may be used to hold the windscreen in place as the adhesive cures.
The vehicle must remain stationary for a set period (called safe drive-away time) until the urethane reaches sufficient strength. This ensures that the windscreen won’t shift or leak and that airbag systems relying on the windscreen function correctly.
Reconnecting Electronics and Sensors
Modern windscreens often include advanced features such as:
- Rain sensors
- Lane departure warning cameras
- Heads-up display (HUD) projectors
- Heated elements for defrosting
After installation, all electronic components must be reconnected and tested. Calibration may be required for ADAS (Advanced Driver-Assistance Systems) to function correctly.
Failure to recalibrate these systems can result in faulty operation and may jeopardize safety.
Conducting Leak and Safety Tests
Before returning the vehicle to the customer, several tests must be performed:
- Leak tests: To ensure water does not seep into the cabin.
- Visual inspection: To verify there are no gaps, bubbles, or misalignments.
- Functional tests: For electronic systems and sensors integrated into the windscreen.
These quality checks confirm that the replacement was successful and that the windscreen performs as expected.
Post-Installation Care Instructions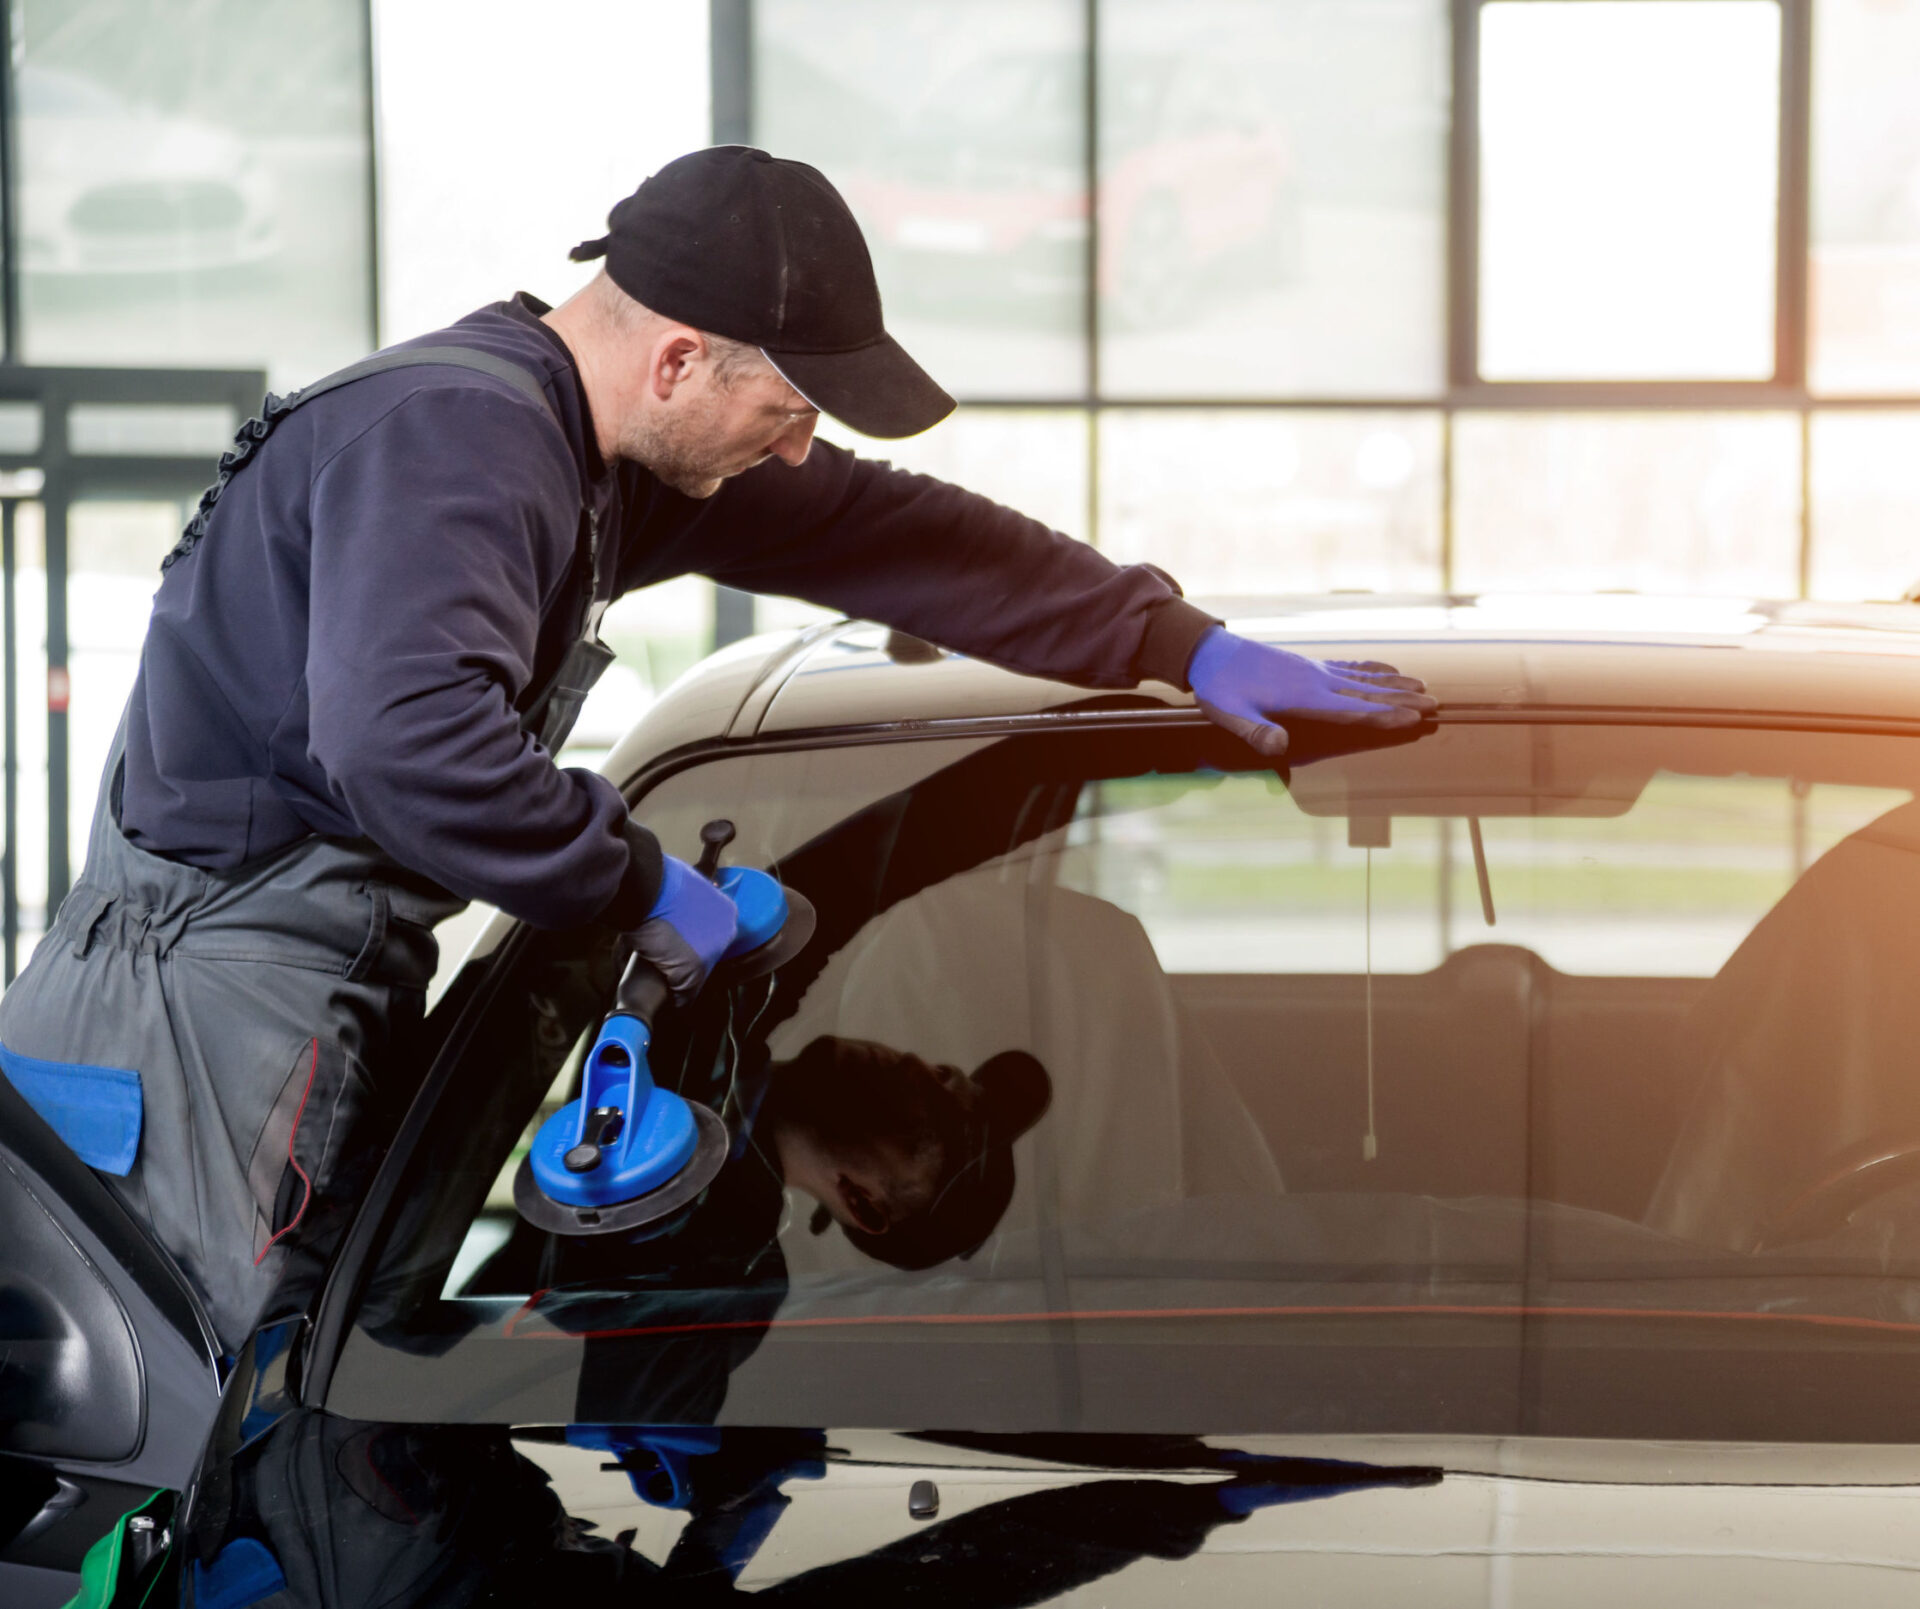
After windscreen replacement, technicians provide care instructions to the car owner:
- Avoid driving the vehicle for a few hours to allow proper curing of the adhesive.
- Do not slam doors as this can create pressure and disrupt the seal.
- Leave retention tape in place until advised to remove it.
- Avoid car washes for 24–48 hours to prevent damage to the adhesive seal.
Following these steps helps ensure long-lasting results and avoids unnecessary repairs.
Common Mistakes to Avoid in Windscreen Replacement
While trained technicians follow stringent guidelines, some mistakes can compromise the installation:
- Rushing the adhesive cure time
- Improper glass alignment
- Skipping calibration of electronic systems
- Neglecting to remove all old adhesive
- Using poor-quality glass or adhesives
Choosing a professional and certified service provider helps eliminate these risks.
Why Professional Replacement Matters
Many vehicle owners consider DIY solutions for cost-saving, but windscreen replacement is a task best left to professionals. Certified technicians follow industry standards, use high-quality materials, and ensure all components are fitted accurately.
Proper windscreen installation maintains the vehicle’s structural integrity, especially during rollovers or collisions, and guarantees that all safety features perform correctly.
Conclusion
If you’ve been wondering, Could you list essential steps to windscreen replacement? —this detailed guide outlines every phase of the process, from damage assessment to post-installation care. Replacing a windscreen is a complex task that requires skill, precision, and adherence to safety protocols. Each step, from removing the damaged glass to calibrating modern sensors, plays a crucial role in restoring your vehicle to a safe and functional condition.
By understanding these essential steps to windscreen replacement, vehicle owners can appreciate the expertise required and make informed choices when selecting a service provider. For peace of mind, always opt for professionals who are certified, experienced, and committed to quality workmanship.
For more insightful articles related to this topic, feel free to visit: wutdawut