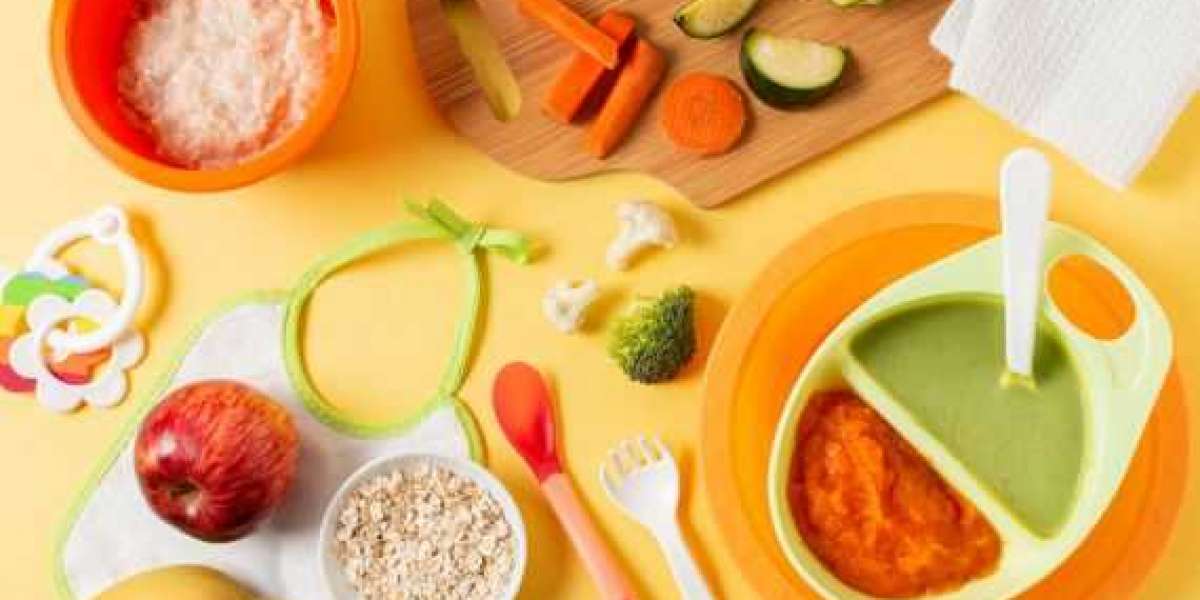
Welcoming a baby into your home means making adjustments in every room — especially the kitchen. As your baby starts to transition from breastfeeding or formula to solid foods, your kitchen can quickly become overwhelmed with bottles, bibs, spoons, and storage containers. Staying organized not only saves time but also keeps feeding stress-free and sanitary. In this article, we’ll explore practical strategies for organizing your kitchen efficiently with baby feeding accessories.
Designate a Baby-Only Zone
One of the best ways to maintain order is by dedicating a specific area in your kitchen for all baby-related feeding items. Choose a cabinet, a set of drawers, or a section of the pantry that is exclusively for baby feeding accessories. This helps separate your baby’s items from adult cookware, reducing clutter and minimizing cross-contamination.
Install dividers, small baskets, or drawer organizers to keep everything visible and accessible. Consider clear bins for storing items like pacifiers, teething rings, or sippy cup lids, so you can quickly grab what you need without rummaging.
Use Vertical Space Wisely
Don’t overlook vertical storage, especially if you’re short on cabinet or counter space. Wall-mounted shelves or hanging racks can provide additional room for storing frequently used items such as bottles, bibs, or snack containers. Over-the-door organizers with pockets are also ideal for holding small baby feeding accessories in a tidy, upright position.
Magnetic spice racks can be repurposed to hold jars of baby food, formula dispensers, or other compact containers. These creative uses of vertical space help free up your countertops and keep your kitchen looking clean and uncluttered.
Organize by Feeding Stage
Your baby’s feeding needs will evolve over time. Organizing your kitchen by feeding stage can make it easier to find what you need and phase out items that are no longer in use. For example:
- Newborn stage: Prioritize bottles, nipples, sterilizers, and formula containers.
- 4–6 months: Add soft-tipped spoons, baby bowls, and bibs.
- 6+ months: Include suction plates, sippy cups, snack containers, and food storage jars.
Label shelves or containers with feeding stages so you can rotate items in and out as needed, keeping only the most relevant tools within easy reach.
Maximize Countertop Efficiency
Baby feeding often involves a lot of washing, drying, and prepping. Streamlining your countertop setup can make this process much smoother. Invest in a compact bottle drying rack with sections for bottles, nipples, and pump parts. Some models come with built-in trays to collect drips, preventing water from pooling on your counters.
Keep a bottle warmer or baby food maker plugged in and ready to go in a dedicated corner. Store all cleaning supplies, like bottle brushes and drying cloths, in a nearby container or caddy for quick access. This setup keeps everything you need for feeding and cleaning in one efficient zone.
Label and Rotate Perishables
Labeling and organizing perishable baby feeding accessories like breast milk bags, homemade baby food jars, or opened formula containers is essential for safety and convenience. Use waterproof labels to note expiration dates and contents, and practice the “first in, first out” rule — always use the oldest items first.
Use stackable fridge organizers or baskets to separate baby items from the rest of your groceries. This not only helps prevent spoilage but also keeps things tidy and reduces the risk of grabbing the wrong item during a busy moment.
Simplify Meal Prep with Storage Solutions
Meal prepping for your baby becomes much easier with the right storage accessories. Silicone freezer trays or small glass containers are great for freezing homemade baby food in portion-sized servings. Store them in labeled bins in the freezer for easy access.
When organizing baby feeding accessories for meal prep, group items by function. For example, dedicate a drawer to food storage containers, another for utensils and bibs, and a third for travel-friendly gear like insulated bottle holders or portable snack cups.
Keep a Cleaning Station Nearby
Proper hygiene is crucial when dealing with baby feeding gear. Set up a mini cleaning station near your sink with a drying rack, bottle brush, and a container of baby-safe dish soap. You can also use a small plastic bin for soaking parts before washing. For sterilizing, keep a microwave or electric sterilizer within reach.
Having everything in one place speeds up the cleaning process and ensures that your baby feeding accessories are always ready for the next use. If you prefer handwashing, a separate tub for washing only baby items is a smart addition.
Regularly Declutter and Reassess
Your kitchen setup will evolve as your baby grows, so it’s important to declutter and reorganize regularly. Every month or so, go through your baby feeding accessories and remove anything that’s no longer needed or safe to use. Look out for cracked containers, worn-out nipples, or items your baby has outgrown.
This routine will help you maintain an organized space and avoid the buildup of unnecessary items. It also allows you to make room for new gear as your baby moves on to different stages of eating.


